
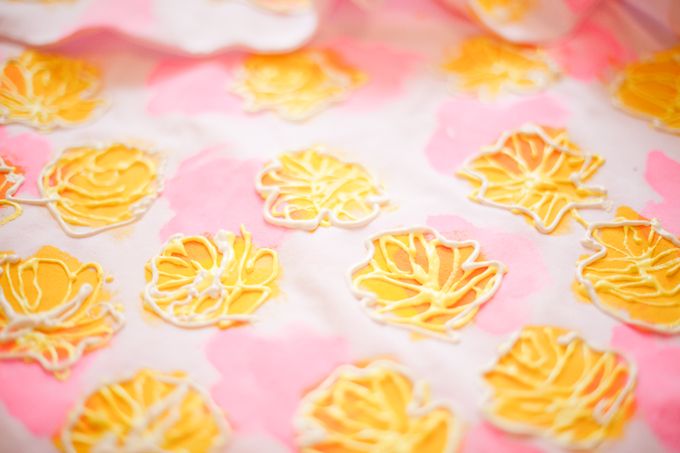
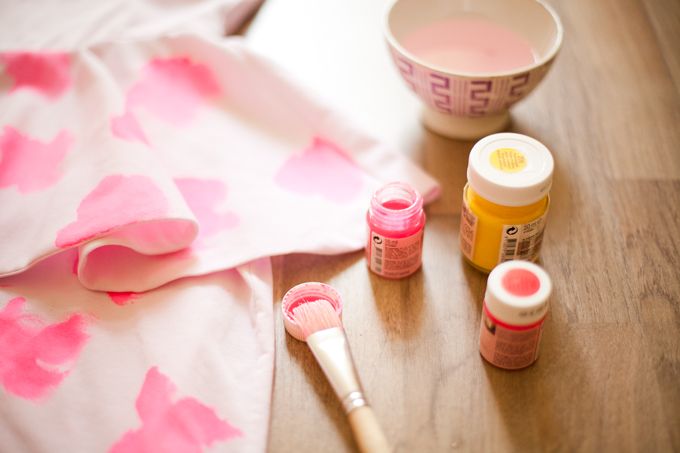
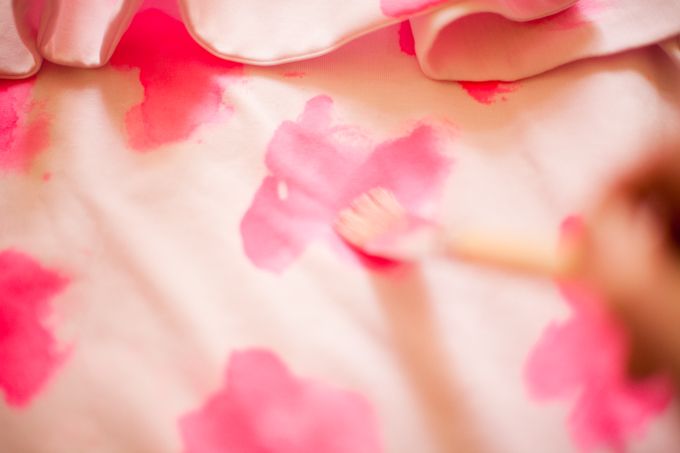
First I dyed a skirt in a very soft pink, then I painted "impressionistic" roses (I tried to capture loosely the silhouette) with textile dye! (mixing the dye with water got the best results!) and after it I went for the yellow roses, using heavy body acrylic paint that I mixed with a textile medium for screen-printing. With lots of effort I managed to get the paint in a syringe-like tube so I could draw the roses out of loose hand.. clearly some roses look better then others haha :)the roses took about 1 week to dry!
xoxo
FOLLOW COCOROSA ON BLOGLOVIN' FACEBOOK AND TWITTER
You have read this article DIY /
Prada skirt /
relief rose print /
Zara Peplum Skirt
with the title DIY Prada skirt in progress. You can bookmark this page URL http://mytattoossy.blogspot.com/2012/05/diy-prada-skirt-in-progress.html. Thanks!


